How to Build Your Own Diy Ultrasonic Welder for Beginners?
Building your own DIY ultrasonic welder offers both challenges and rewards. This tool is essential in various industries, including manufacturing and electronics. According to the Ultrasonic Welder Industry Report 2023, the market is projected to grow significantly, driven by advancements in technology and increasing demand for precision welding. Industry expert Dr. Ellen Fischer emphasizes, "Creating a DIY ultrasonic welder empowers individuals to innovate and adapt techniques to their specific needs."
As you embark on this project, understanding the components and their functions is crucial. A DIY ultrasonic welder consists of an ultrasonic generator, transducer, and welding tip. However, assembling these parts requires careful consideration. Mistakes can lead to malfunction or safety hazards. It's important to approach this task with caution and readiness to learn from errors.
Moreover, while the project seems straightforward, the intricacies can be perplexing for beginners. Each step demands attention to detail and troubleshooting skills. Embracing these challenges will enhance your understanding of ultrasonic technology. It's not just about assembling parts; it's about mastering a craft that can have significant applications in the real world.
Understanding the Basics of Ultrasonic Welding Technology
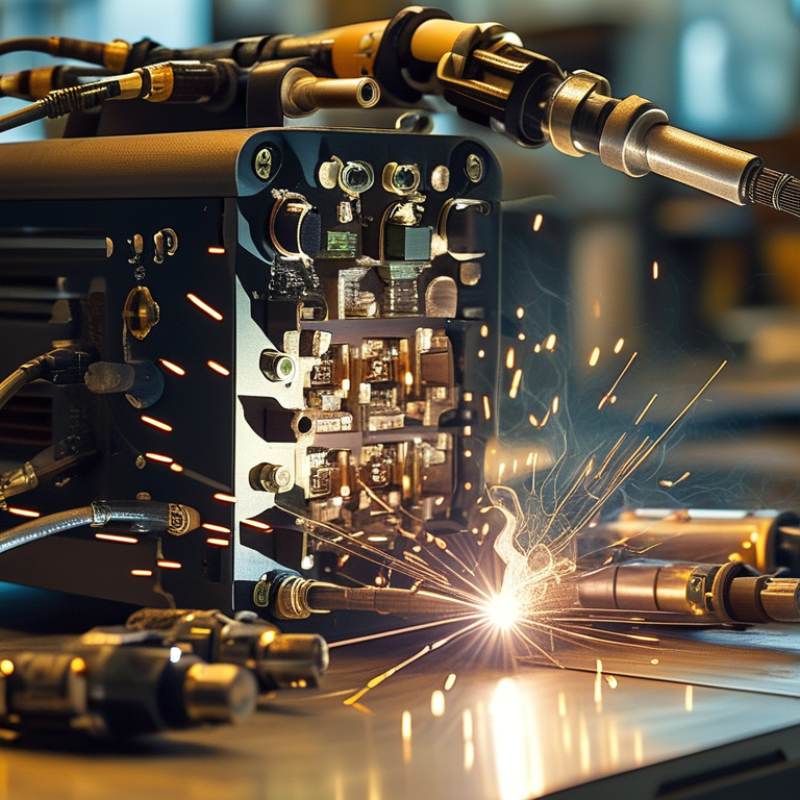
Understanding ultrasonic welding technology is crucial for beginners eager to explore DIY projects. Ultrasonic welding uses high-frequency vibrations to join materials. This method is especially effective for plastics and thin metals. It requires a transducer, booster, and sonotrode to create the ultrasonic waves. These components transform electrical energy into mechanical vibrations, enabling precise welding without additional adhesives.
The process may seem straightforward, but certain challenges can arise. For instance, achieving the correct amplitude is essential. Too low may result in weak bonds, while too high can damage the materials. Beginners might struggle with tuning the equipment accurately. It's important to conduct experiments to find the optimal settings for different materials. A sound understanding of the physical properties of the materials can help prevent mistakes and improve quality.
Safety is another key aspect to consider. Ultrasonic welding generates heat and vibrations, which can be hazardous if not handled properly. Ensure that all equipment is secure and that protective gear is worn. Reflecting on past experiences, some DIY enthusiasts have overlooked safety measures, leading to unexpected injuries. Taking the time to learn and practice can lead to successful and secure projects.
Essential Components for Building a DIY Ultrasonic Welder
Building a DIY ultrasonic welder requires a clear understanding of essential components. Key parts include ultrasonic transducers, a booster, and a sonotrode. The transducer converts electrical energy into mechanical vibrations. Commonly used materials for this component are piezoelectric crystals. These crystals can operate at frequencies between 20 kHz to 40 kHz.
The booster amplifies the vibrations. It’s critical for achieving the right amplitude for the welding process. It also helps in adjusting the frequency slightly for better performance. Selecting the right booster is crucial. Not all boosters are compatible with every transducer.
Lastly, the sonotrode delivers the ultrasonic energy to the materials being welded. Its design affects the weld quality. A poorly shaped sonotrode can lead to weak welds or inconsistent results. According to industry standards, proper tuning of these components can improve efficiency by up to 30%. However, precision is complex. It may take multiple attempts to achieve the desired outcome. Crafting a reliable ultrasonic welder is an iterative process that requires patience and experimentation.
How to Build Your Own DIY Ultrasonic Welder for Beginners? - Essential Components for Building a DIY Ultrasonic Welder
| Component |
Description |
Estimated Cost (USD) |
Source |
| Ultrasonic Generator |
Produces high-frequency electrical energy to drive the ultrasonic transducer. |
$50 - $150 |
Online retailers, electronics stores |
| Ultrasonic Transducer |
Converts electrical energy into ultrasonic waves for welding. |
$20 - $100 |
Specialty suppliers, online platforms |
| Sonotrode |
The tool that delivers ultrasonic vibrations directly to the material being welded. |
$30 - $80 |
Manufacturers, online suppliers |
| Power Supply |
Provides the necessary power to the ultrasonic generator. |
$25 - $75 |
Electronic components stores |
| Control Circuit |
Regulates the operation of the ultrasonic welder. |
$10 - $50 |
DIY electronics suppliers |
| Cooling System |
Prevents overheating during operations. |
$15 - $50 |
Hardware stores |
| Work Surface |
Stable platform to hold the material being welded. |
$10 - $40 |
Wood or metal suppliers |
Step-by-Step Guide to Assembling Your Ultrasonic Welder
Building your own ultrasonic welder can be an exciting project. It allows you to dive into the world of electronics, focusing on practical applications. Gathering all the necessary components is your first step. You will need a transducer, generator, and a welding horn. Research each part's specifications carefully to ensure compatibility. Mismatched components can lead to inefficiencies or failure in welding.
Assembling the ultrasonic welder involves precision and attention to detail. Begin by securely mounting the transducer to a sturdy base. Ensure that electrical connections are tight and insulated. A common mistake is overlooking the alignment of the welding horn; incorrect placement can affect the weld's strength. Test the connections multiple times before powering on the device.
Don’t rush through the calibration stage. Adjusting the frequency is crucial for optimal performance. It's common to encounter glitches initially. Document your setup process, reflecting on what works and what doesn’t. This not only fosters improvement but also enhances your understanding. Building your own ultrasonic welder invites both challenges and valuable learning experiences.
Safety Precautions When Using Ultrasonic Welders
Ultrasonic welding is an effective and versatile technique. However, it poses risks that should not be overlooked. Safety precautions are crucial for anyone working with ultrasonic welders. Reports indicate that improper handling can lead to injuries ranging from minor burns to serious accidents.
Wearing appropriate PPE, such as gloves and goggles, is essential. These protect against heat and ultrasonic vibrations, which can cause harm. The Occupational Safety and Health Administration (OSHA) highlights that hearing protection might also be necessary. Ultrasonic equipment can create high-frequency sounds above the hearing threshold. Exposure to these levels can lead to long-term hearing damage.
Proper training in operating ultrasonic welders is vital. Operators should understand the machine's controls and safety features. The National Institute for Occupational Safety and Health (NIOSH) emphasizes thorough training. Regular equipment maintenance is another critical factor to avoid accidents. Ensuring that machines are in good working order minimizes risks associated with wear and tear. Regular inspections can help identify potential hazards before they lead to injuries.
Ultrasonic Welding Temperature vs. Time Analysis
This bar chart illustrates the relationship between ultrasonic welding temperature and time required for successful weld formation. As time increases, the temperature reaches an optimal point for effective welding.
Testing and Troubleshooting Your DIY Ultrasonic Welder
When testing your DIY ultrasonic welder, calibration is crucial. Start by measuring the frequency output with an oscilloscope. This ensures the transducer operates at optimal levels. A report by the International Journal of Advanced Manufacturing Technology states that even a slight frequency deviation can reduce weld strength by 30%. Accuracy in frequency control is essential for effective ultrasonic welding.
During troubleshooting, common issues arise. If the welder fails to generate adequate heat, check connections. Loose solder joints often lead to inconsistent performance. A study from the Welding Journal highlights that poor connectivity can decrease efficiency by up to 25%. Verify that all components are securely fastened and properly aligned. Look out for unusual noise or vibrations. These signs often indicate misalignment or wear in the transducer.
Don’t underestimate the importance of sound quality in the welding process. If the output sounds weak or irregular, investigate the acoustic path. Blockages or wear in the sonotrode can lead to ineffective welding. Regular maintenance, such as cleaning and replacing worn components, can enhance performance. As you build and test your ultrasonic welder, expect setbacks. Learning from these challenges is part of the DIY journey.