Leave Your Message
Choosing an Ultrasonic Fabric Welder is not a wattage contest. The right machine must suit the fabric, seam, and production pace. A thin nonwoven layer behaves differently from a dense, coated textile. Even a small change in pressure or horn alignment can affect seam strength and appearance.
Ultrasonic-joining researcher Dr. A. Benatar has published work on the process, but no verified quotation from him was provided for this introduction. Rather than invent one, this guide uses a practical selection principle: “Match the welder to the material, then validate the seam with trials.” That is guidance for this article, not a quotation attributed to Dr. Benatar.
Look closely at the details. Will the machine make continuous seams, short welds, or patterned bonds? Can its controls hold consistent pressure and energy across repeated cycles? Ask for sample welds using your actual fabric, then inspect the bond, edges, and hand feel. Run more than one trial. Production conditions can expose weaknesses that a clean showroom sample hides.
The sections ahead explain how to compare frequency, power, tooling, controls, and service support. They also show what to ask suppliers before purchase. A perfect spec sheet is not enough. Real fabric can surprise you, and that uncertainty deserves a place in the decision.
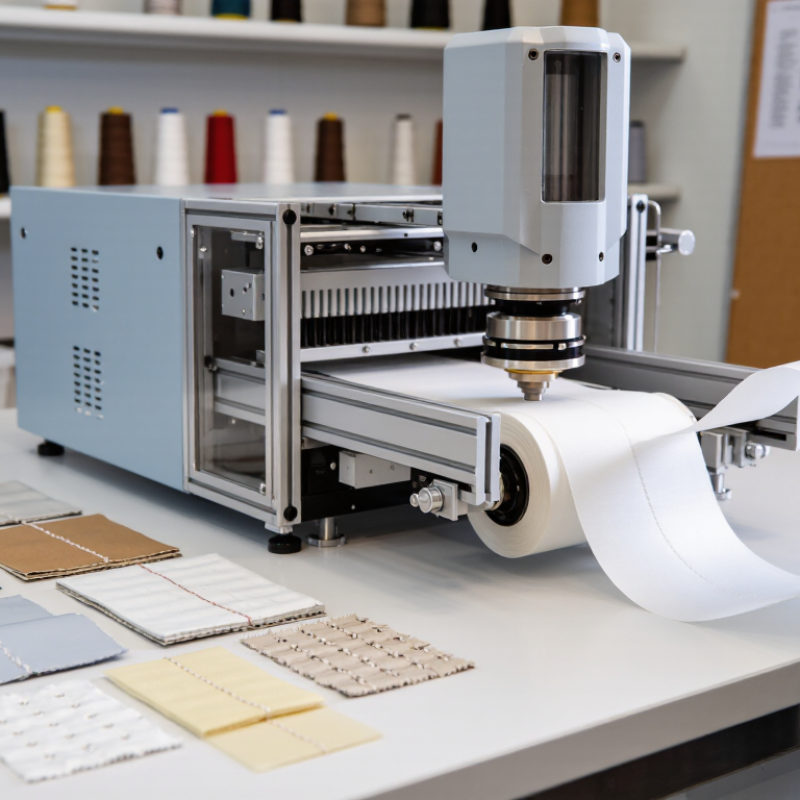
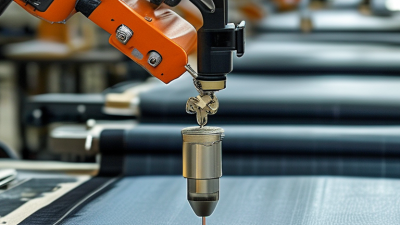
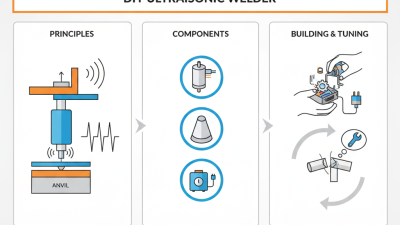
Ultrasonic fabric welding joins thermoplastic layers without thread or liquid adhesive. A vibrating metal horn presses the fabric against an anvil. Rapid vibration creates heat where the layers meet, softening the thermoplastic fibers so they bond under pressure. TWI’s technical guidance gives a common operating-frequency range of 20–40 kHz. The ASM Handbook describes ultrasonic welding as a high-frequency joining process. Small detail. The fabric must contain materials that soften and fuse; cotton alone will not weld this way.
Choosing a welder starts with the fabric, not just the machine’s power rating. Check fiber content, thickness, coatings, and how many layers must be joined. Then test the horn pattern, pressure, vibration time, and hold time. A thin synthetic mesh may seal quickly, while a coated fabric can wrinkle or stick if heat builds unevenly. Watch the seam closely. Uneven pressure can leave a weak spot, even when the edge looks neat. I would treat initial settings as a starting point, not a promise: small changes in fabric construction can alter the result. Make sample seams, pull-test them, and inspect both sides before settling on a setup.
| Selection Factor | What to Check | Typical Guidance | Why It Matters |
|---|---|---|---|
| Fabric composition | Fiber type, coatings, films, and material layers | Ultrasonic welding is generally suited to thermoplastic materials such as polyester, polypropylene, nylon, and compatible thermoplastic films. Pure cotton and other non-thermoplastic fibers do not fuse by themselves. | The weld forms when compatible thermoplastic material softens and bonds under vibration and pressure. In coated textiles, the coating may form the bond rather than the fabric fibers. |
| Material construction | Woven, knitted, nonwoven, laminated, or coated construction | Test the actual production material and layer combination. A fabric that welds well on its own may behave differently when laminated or coated. | Construction affects how heat, vibration, and pressure travel through the material and whether the finished seam remains flexible and strong. |
| Machine frequency | Operating frequency and compatibility with the horn and tooling | Common industrial ultrasonic frequencies include 20, 35, and 40 kHz. Lower-frequency systems are often used for larger or heavier tooling; higher-frequency systems are often used for smaller, finer applications. Suitability depends on the complete setup. | Frequency affects tooling design and the way energy is delivered. The generator, transducer, booster, and horn must be matched. |
| Seam type and geometry | Continuous seam, spot weld, cut-and-seal edge, or patterned weld | Continuous seams commonly use a rotating sonotrode and patterned anvil; spot or short welds commonly use a stationary horn and shaped fixture. | The tooling and feed arrangement need to match the seam path, width, pattern, and required production method. |
| Production rate | Required output, feed speed, and whether operation is manual or automated | Compare the required line speed with the machine’s rated operating capability, then verify seam quality at that speed using production material. | A seam that passes a slow sample test may not remain consistent at the intended production rate. |
| Horn and anvil tooling | Contact width, pattern, material, and replaceability | Choose tooling shaped for the seam and fabric. A patterned anvil can concentrate energy at selected points; continuous contact tooling is used for continuous seams. | Tooling geometry influences energy concentration, seam appearance, bond consistency, and the risk of marking or cutting the material. |
| Process control | Available controls for energy or time, pressure, and feed speed | Look for repeatable adjustment and monitoring appropriate to the application. Establish settings through trials rather than relying on a universal preset. | Material variation and tooling condition can change the weld result. Consistent controls help maintain seam quality. |
| Quality requirements | Seam strength, leak resistance, flexibility, appearance, and repeatability | Define measurable acceptance criteria and test representative samples, including the intended material layers and operating conditions. | A visually neat seam is not necessarily strong or leak-resistant; testing should reflect the product’s actual use. |
| Safety and maintenance | Guarding, emergency stop, noise exposure, access to tooling, and service requirements | Review the machine’s safety features and maintenance instructions, and assess workplace noise and operator access before installation. | Safe operation and routine inspection support reliable production and help protect operators. |
Practical tip: Request a weld trial using the exact fabric, coating, number of layers, seam design, and target production speed. Final settings depend on the material and tooling combination.