
Leave Your Message

2026 How to Choose an Ultrasonic Welder for Wire

Choosing the right Ultrasonic Welder For Wire in 2026 requires more than comparing power ratings. Wire diameter, metal type, strand construction, insulation, and production speed all influence the result. Copper may need different settings than aluminum. Fine stranded wire can also collapse under excessive pressure.

Dr. Robert W. Messler Jr., a recognized welding engineer and author, offers a practical principle: “A weld is successful only when it performs reliably in service.” That idea should guide every purchasing decision. A machine may create a bright, compact joint within seconds. Yet appearance alone proves very little. Pull strength, electrical resistance, cross-section quality, and repeatability matter more.

This guide examines how to evaluate an Ultrasonic Welder For Wire for real factory conditions. It considers welding frequency, amplitude control, pneumatic force, tooling design, cycle time, and process monitoring. It also discusses copper and aluminum wire applications, including battery tabs, harnesses, terminals, and magnet-wire connections.

Look closely at the tooling.

A horn that suits one wire size may damage another. Small changes in clamping force can affect strand deformation. Operators may notice this before software does. That practical detail is easy to overlook.

The selection process is not perfectly predictable. Material batches vary. Tool wear develops gradually. Some supplier claims also sound stronger than their test evidence. Therefore, the guide encourages sample trials, destructive pull tests, and production-like validation before purchase. The best machine is not always the most powerful model. It is the system that delivers stable joints, measurable results, manageable maintenance, and dependable performance over time.
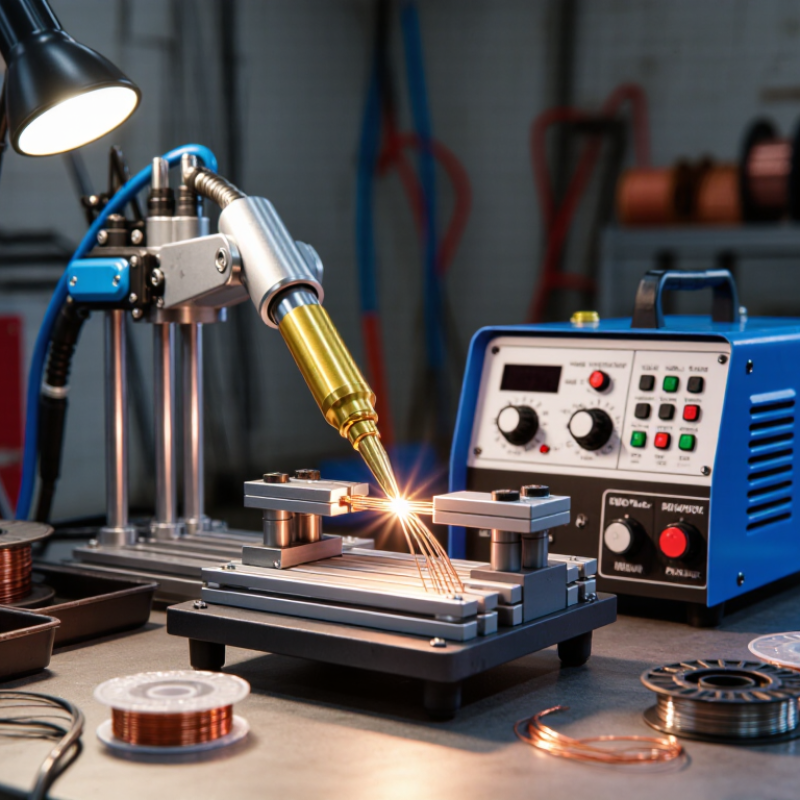
2026 How to Choose an Ultrasonic Welder for Wire

Define the Wire Welding Task and Required Joint Performance

Before choosing an ultrasonic welder, define the actual wire task: conductor material, strand count, wire sizes, and how many wires meet at each joint. A copper-to-copper splice in a compact harness differs from joining fine strands to a terminal. Record the smallest and largest wire combinations, because one setting may not suit both.

Set measurable joint requirements before comparing machines. Specify tensile strength or pull-out force, electrical resistance, allowable deformation, and the production rate. IEC 60352-9:2020 describes evaluation methods for ultrasonic welded connections, including mechanical and electrical testing. Use those methods to build acceptance criteria for your application, rather than treating a visually smooth weld as proof of quality. It isn’t.

For copper, the International Annealed Copper Standard uses 58 MS/m as the 100% IACS conductivity reference at 20°C. This is a material benchmark, not a universal weld-resistance limit. Measure finished joints and compare resistance with an unwelded reference of the same conductor length. Also check strength after welding. A low-resistance joint may still pull apart. One shortcut is tempting: test only a sample from the easiest wire size. That can miss weak joints at production extremes. Define those extremes first.
2026 How to Choose an Ultrasonic Welder for Wire - Define the Wire Welding Task and Required Joint Performance

Start by identifying the conductor size and wire construction. The chart shows nominal cross-sectional areas for common AWG copper wire sizes; it does not specify a universal weld setting or acceptance limit. Define the required pull strength, electrical resistance, and inspection criteria for your application, then qualify the weld using the actual wire, joint geometry, and process conditions.

Compare Ultrasonic Welder Types, Frequencies, and Power Ratings

Choosing an ultrasonic welder for wire requires more than comparing catalog power. In production trials, wire diameter, alloy, insulation, and joint shape often matter more. A benchtop welder suits small batches and frequent adjustments. An automated system fits repeatable harness work. Handheld units offer flexibility, but consistent pressure can be difficult.

Frequency affects weld behavior. A 20 kHz machine usually delivers stronger mechanical action for larger wires and tougher joints. A 30 kHz unit can balance force and precision for medium-sized conductors. A 40 kHz welder may suit delicate wires, compact terminals, and finer control. These ranges are practical guides, not fixed rules. The tooling and material still decide the result.

Power ratings need careful reading. Higher wattage does not automatically produce a better weld. Check available amplitude, clamping force, weld time, and energy control. A 1,500-watt unit may outperform a 2,000-watt model when its settings match the wire. I recommend testing sample joints at the smallest acceptable energy level, then inspecting pull strength, cross-section, and visible deformation. Watch the insulation edge. It should remain clean, not melted or sharply crushed.

A common mistake is choosing by frequency alone. I have made that assumption before. It saved time during purchasing, but caused extra tooling trials later. Record real results from your wire and terminal combination. That evidence is more reliable than a simple rating table.

Match Wire Materials, Sizes, and Bundles to Machine Capabilities

2026 How to Choose an Ultrasonic Welder for Wire

Match Wire Materials, Sizes, and Bundles to Machine Capabilities

Choosing an ultrasonic welder starts with the wire, not the machine’s advertised power. Copper and aluminum transfer ultrasonic energy differently. Coated, tinned, or mixed-metal wires may need adjusted amplitude, pressure, and weld time. Fine strands can break under excessive force, while thick conductors may require greater energy and a wider tooling profile.

Measure the real material range before comparing equipment. Record conductor diameter, strand count, insulation thickness, and bundle width. A machine that handles one large cable may not produce stable welds on six small wires. In production trials, inspect pull strength, cross-section, surface marks, and electrical resistance. A clean weld is not automatically a reliable weld. That is easy to forget.

Tips: Test your actual wire bundles, not only sample coupons. Begin with conservative settings, then increase energy gradually. Check the tooling gap after repeated cycles. Heat, dust, and slight misalignment can change results. Keep failed samples for comparison; they often reveal more than successful ones. If the weld window feels narrow, pause and reassess the wire preparation, fixture support, and machine capacity. There is no perfect setting. There is only a controlled, repeatable process.

Evaluate Tooling, Controls, Automation, and Production Requirements

2026 How to Choose an Ultrasonic Welder for Wire

Evaluate Tooling, Controls, Automation, and Production Requirements

Wire welding decisions begin with the joint, not the machine brochure. Define conductor material, cross-section, strand count, insulation clearance, and required pull strength. Tooling must support the actual wire stack without crushing strands. I have seen stable welds fail after a small change in terminal geometry. That detail matters.

Controls should record weld energy, amplitude, pressure, time, and collapse distance. A simple pass-or-fail light is not enough for traceability. The International Energy Agency reported more than 14 million electric cars sold globally in 2023. That growth increases pressure on battery and harness production. Your welder needs recipe control, alarm history, and secure data export for every critical joint.

Automation should match production reality. The International Federation of Robotics recorded 541,302 industrial robot installations in 2023. However, automation can magnify poor tooling. Test feeding, part location, cycle consistency, and changeover time before connecting a robot. An experienced operator should inspect cross-sections and pull-test samples during validation. Do not trust software alone. It can hide a weak weld.

Production volume also changes the decision. A laboratory tool may suit engineering trials, but it can struggle with thousands of daily cycles. Check horn wear, fixture replacement, cooling, maintenance access, and spare tooling costs. I would leave capacity headroom, although excessive capacity increases cost without improving the joint. That trade-off deserves a documented trial, not a confident guess.

Verify Safety, Maintenance, Cost, and Supplier Support Before Buying

When choosing an ultrasonic welder for wire in 2026, inspect safety controls before comparing power ratings. The machine should include guarded moving parts, emergency stopping, overload protection, and clear operating instructions. Ask whether operators can adjust welding pressure and amplitude without bypassing protective features. Test the controls with actual wire sizes, not only sample pieces.

Maintenance details often reveal the real quality of a machine. Check how easily technicians can reach the horn, anvil, filters, and electrical connections. Request a recommended inspection schedule and records from similar installations. In daily production, small alignment errors can create weak welds, cracked strands, or excessive tool wear. Keep spare tooling available. That costs more upfront.

Calculate the full ownership cost, including energy use, tooling, training, downtime, and service travel. A low purchase price may become expensive after repeated setup failures. Supplier support should include application testing, documented parameters, operator training, and responsive technical assistance. Ask how quickly replacement parts normally arrive and who handles urgent faults. Written answers matter. During evaluation, record weld strength, cycle time, noise, and reject rates across several batches. One promising demonstration can mislead you. I would also leave room for uncertainty, because wire coatings, strand layouts, and production pressure may change after installation.

2026 How to Choose an Ultrasonic Welder for Wire — Verify Safety, Maintenance, Cost, and Supplier Support Before Buying

Use this suggested scorecard to compare ultrasonic wire-welding systems for your actual wire, terminal, and production requirements. The weightings are a buyer-planning guide, not an industry standard.

Evaluation area Suggested weight What to verify Evidence to request or test Score (1–5)
Safety and risk controls 20% Confirm guarding, interlocks, emergency-stop access, electrical protection, and safe access for loading and unloading. Check the risk assessment for the complete installation, including fixtures and automation. Review the machine risk assessment, electrical documentation, operating instructions, and relevant conformity documentation for the destination market. Observe a safety review during a production-representative demonstration. _____ / 5
Wire and joint capability 20% Check that the system and tooling suit the conductor material, wire cross-section, strand construction, terminal or wire-to-wire joint, and required production rate. Run samples using your production materials and the proposed joint design. Record the approved process window and the tested material, dimensions, and tooling configuration. _____ / 5
Weld quality and monitoring 15% Determine how the system controls and monitors the weld cycle. Check whether it can detect out-of-range conditions and retain relevant process records. Agree on application-specific acceptance tests, such as visual inspection, pull testing, resistance measurement, or metallographic examination where appropriate. Request sample results and traceability details. _____ / 5
Maintenance and uptime 15% Identify routine inspection and maintenance tasks, expected wear items, cleaning needs, and any required calibration or system checks. Confirm who can perform each task. Request the maintenance schedule, parts list, recommended spare-parts kit, troubleshooting guide, and stated service intervals. Confirm whether maintenance procedures require a trained technician. _____ / 5
Total cost of ownership 15% Compare more than the purchase price. Include tooling, fixtures, installation, training, utilities, spare parts, planned service, and production downtime during changeovers or maintenance. Request an itemized quotation with included and optional items, warranty terms, service charges, delivery costs, and any recurring software or support fees. Compare costs over the same ownership period. _____ / 5
Supplier support and training 10% Verify commissioning, operator and maintenance training, troubleshooting access, response arrangements, and the availability of technical support in your working hours and language. Get the support scope and response commitments in writing. Ask who provides service, how remote support works, and whether on-site assistance and refresher training are available. _____ / 5
Installation and integration 5% Check footprint, electrical supply, compressed-air needs if applicable, operator access, interfaces, and compatibility with existing production equipment and data systems. Request installation requirements, interface specifications, utility details, and a site-readiness checklist. Confirm the scope and responsibilities for integration and acceptance testing. _____ / 5
Total 100% Score each area from 1 (does not meet requirements) to 5 (fully demonstrated and documented). Multiply each score by its weight to compare shortlisted options. _____ / 5

Buying check: Base the final decision on samples and test results from your own application. Acceptance limits, required documentation, safety obligations, and installation requirements depend on the machine configuration and the regulations applicable at the installation site.