Top 10 Diy Ultrasonic Welder Solutions for Global Buyers?
In the world of manufacturing, the "Diy Ultrasonic Welder" stands out as a versatile tool. Industry expert Dr. Andrew Chen notes, “The adaptability of DIY ultrasonic welders is a game-changer for makers and entrepreneurs.” This technology provides unique solutions, especially for small businesses and DIY enthusiasts looking to enhance their production capabilities.
The market for DIY ultrasonic welders has grown significantly, offering various options tailored to different needs. From simple handheld devices to advanced models, users can select equipment that fits their specific applications. However, navigating the choices can be overwhelming. Many buyers struggle to identify the best welder for their projects, highlighting the need for informed decisions based on reliable information.
Exploring the top ten DIY ultrasonic welder solutions can guide potential buyers. Each option presents distinct features and benefits, catering to various skill levels and project types. Reflecting on specific user experiences can reveal common pain points and triumphs in utilizing these tools. Understanding these factors is crucial in making the right choice in today’s competitive landscape.
Understanding the Fundamentals of Ultrasonic Welding Technology
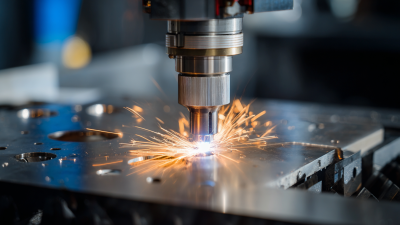
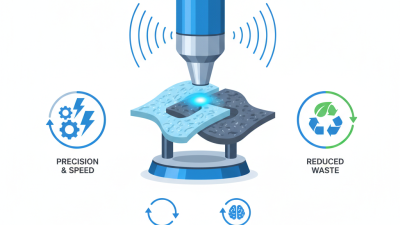
Ultrasonic welding technology is a unique process that joins materials using high-frequency sound waves. This method is often applied in a variety of industries, including automotive and electronics. The principles are based on generating ultrasonic vibrations, which produce localized heat through friction. This enables strong bonds between plastics and metals without the need for additional adhesives or mechanical fasteners.
One of the crucial aspects of ultrasonic welding is control over parameters like amplitude and pressure. Variations in these settings can significantly affect the quality of the weld. Beginners may experiment with these settings to find the optimal balance. It's easy to fall into the trap of using standard values. However, customization often leads to superior results.
Moreover, understanding material compatibility is key. Not all materials weld well together. Insights into their properties can prevent failures. Adjustments may be required when combining different materials. This trial-and-error process is essential for achieving reliable outcomes.
Striking the right balance in ultrasonic welding can take time. Learning from mistakes can lead to better practices in the long run.
Key Components and Materials for DIY Ultrasonic Welders
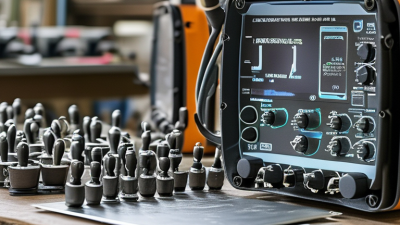
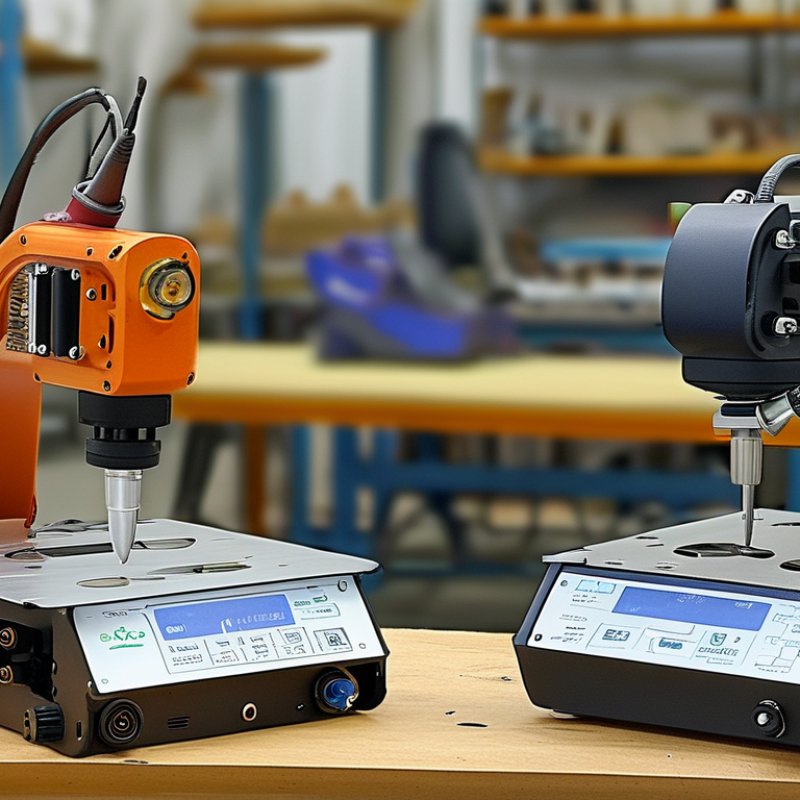
When delving into DIY ultrasonic welders, understanding the key components is crucial. The ultrasonic transducer is the heart of the system. This device converts electrical energy into mechanical vibrations. A quality transducer can significantly enhance weld strength and efficiency. Selecting a transducer with the right frequency ensures optimal performance for various materials.
Another essential component is the booster. This tool amplifies the ultrasonic waves. Proper sizing and material choice impact the effectiveness of the whole setup. Additionally, a well-designed sonotrode allows for precise energy delivery. Experimenting with different sonotrode shapes might yield varied results.
Material selection is equally important. Thermoplastic materials like polypropylene and polyethylene are widely used. Their unique properties lend themselves well to ultrasonic welding. However, not all materials respond equally. Some might require more refining. Understanding the limitations and properties of each material aids in achieving the best welds. Small adjustments in parameters can lead to significant improvements or failures. Always document your findings for future reference.
Top 10 DIY Ultrasonic Welder Solutions for Global Buyers
| Solution Name |
Key Components |
Materials Used |
Estimated Cost (USD) |
Difficulty Level |
| Basic Ultrasonic Welder |
Transducer, Generator |
Plastic, Metal |
150 |
Easy |
| Advanced Ultrasonic Welder |
Transducer, Amplifier, Generator |
Plastics |
250 |
Medium |
| Multi-Purpose Welder |
Transducer, Converter, Booster |
Metal, Ceramics |
350 |
Hard |
| Portable Ultrasonic Welder |
Battery, Transducer |
Plastic |
200 |
Easy |
| Industrial Ultrasonic Welder |
Transducer, Large Generator |
Metal, Composites |
800 |
Very Hard |
| Bench Top Ultrasonic Welder |
Transducer, Fixture |
Plastics |
300 |
Medium |
| Automated Ultrasonic Welder |
Robotic Arm, Transducer |
Plastics, Metals |
1000 |
Very Hard |
| Ultrasonic Cleaning System |
Transducer, Tank |
Water, Detergent |
400 |
Medium |
| Ultrasonic Spot Welder |
Transducer, Nozzle |
Metal, Alloys |
500 |
Hard |
| Ultrasonic Stacking Machine |
Transducer, Conveyor |
Plastics |
600 |
Medium |
Step-by-Step Guide to Building Your Own Ultrasonic Welder
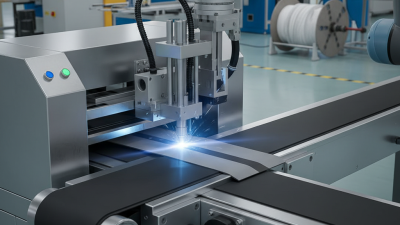
Building your own ultrasonic welder can be an engaging project. It provides an opportunity to explore the dynamics of high-frequency welding technology. Quality ultrasonic welders operate between 20 kHz to 40 kHz, allowing for precise and efficient bonding of materials. Proficiency in electronics and mechanical design is key. Basic components include a generator, transducer, and sonotrode, each vital for the process.
Many enthusiasts have reported success in fabricating custom ultrasonic welders using readily available materials. Professional insights indicate that a well-designed ultrasonic system can save costs. According to industry data, the ultrasonic welding market is expected to grow at a CAGR of 6.1% from 2022 to 2030. This fact underscores the rising interest in welding solutions among DIY enthusiasts.
However, challenges abound. Matching the frequency of components requires careful calibration. Inconsistent welding results may arise from improper adjustments. Standardization of materials further complicates the DIY approach. Reflecting on these complexities is crucial for anyone attempting this project. Understanding the potential pitfalls can lead to better designs and improved project outcomes.
Common Challenges and Solutions in DIY Ultrasonic Welding Projects
DIY ultrasonic welding can be rewarding, but it also comes with its own set of challenges. One common issue is inconsistent welds. This can stem from improper settings or material incompatibility. Always ensure that you understand the parameters of your materials. Another challenge is the need for precise alignment during the welding process. Misalignment can lead to weak joints. Taking time to adjust and test your setup can save much frustration later.
Tips: Regularly check your equipment. Calibration is key to success. Even minor deviations can affect the outcome. Experiment with different materials and settings to find the best combination for your project. Document your findings. This will help you learn from both successes and failures.
Additionally,
safety should not be overlooked. Ultrasonic welding involves high frequencies, and neglecting protective measures may lead to hearing damage. Use ear protection and work in a well-ventilated space. Seek guidance from experienced users when trying new techniques.
Learning from their experiences can prevent costly mistakes and enhance your skills.
Tips for Testing and Optimizing Your Ultrasonic Welder Performance
When testing your ultrasonic welder, precision is key. Start by checking the setup for inconsistencies. Ensure all components are properly aligned. Misalignment can lead to subpar welding results. Reassessing the positioning may save time and material. Keep an eye on amplitude settings. Too high or too low can result in weak joints.
Optimization involves experimenting with various materials. Some plastics respond better than others. Keep a record of each test to identify patterns in performance. A thorough analysis can reveal the best techniques for different applications. Regular maintenance of equipment ensures longevity and reliability. Dirty or worn parts can lead to unexpected failures.
Lastly, seek feedback from operators. They provide insights that might not be obvious through testing alone. Sometimes, the human element uncovers issues that machines miss. Documenting their experiences helps in refining processes over time. Stay open to adjustments. Continuous improvement is essential in achieving maximum efficiency.
Ultrasonic Welder Performance Metrics
This chart displays the average performance metrics of various ultrasonic welders based on frequency, output power, and weld time. These factors influence the effectiveness and efficiency of the welding process.