7 Tips for Choosing a Black Ultrasonic Welder
A Black Ultrasonic Welder can look ready for production on a showroom floor. The real test happens at the joint: a clean seam, repeatable strength, and stable cycle times. Color may suit your factory layout, but it does not predict weld quality. Michael J. Troughton, author of Handbook of Plastics Joining, is a recognized technical reference in plastics joining. A practical takeaway from his field is simple: match the welding process to the material and joint, not the machine’s appearance. That is a paraphrase, not a verified direct quotation.
Start with the parts you actually plan to weld. Check their resin type, wall thickness, joint design, and tolerance range. Then consider the horn, fixture, generator controls, and available process data. Ask suppliers to demonstrate your parts—not just a sample that looks similar. Watch for flash, inconsistent seams, and parts that shift in the fixture. Small details matter.
A good machine should fit your production rate, operator skills, and maintenance capacity. Request clear information about setup, service, training, and spare parts. Compare cycle consistency across repeated runs, not one impressive weld. Keep records. They help reveal drift.
There is a limitation worth admitting: no checklist replaces trials with your materials and tooling. Even a capable Black Ultrasonic Welder can disappoint when the joint design is poor. The tips ahead offer a practical way to compare options, ask sharper questions, and avoid buying based on finish alone.
Understanding What a Black Ultrasonic Welder Is
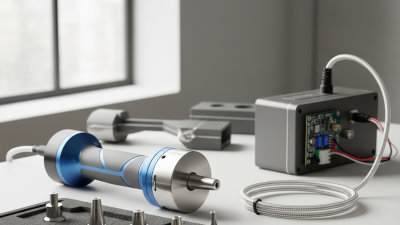
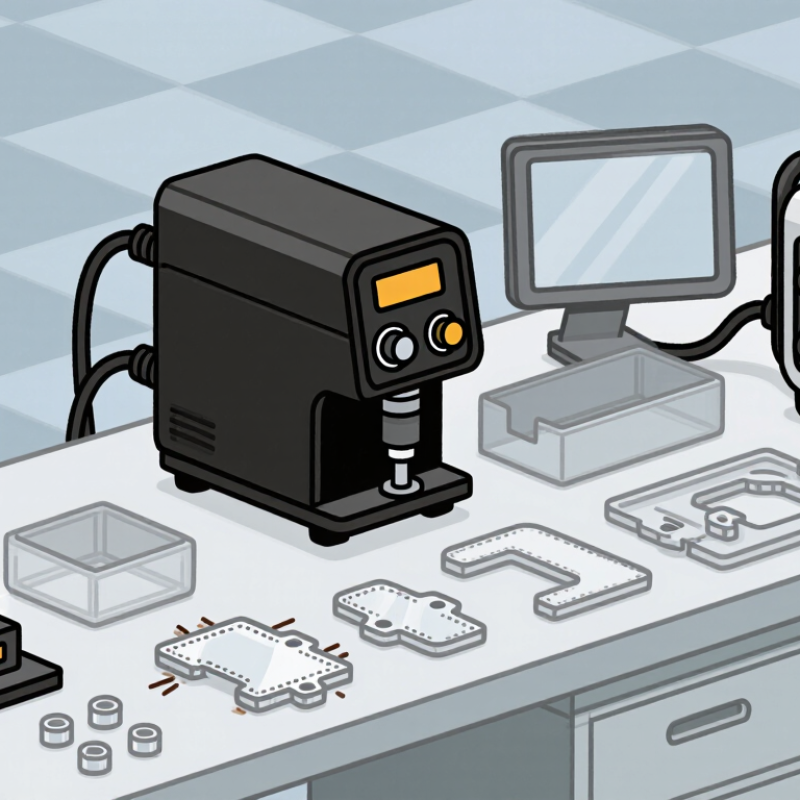
A black ultrasonic welder is an ultrasonic welding machine with a dark-colored housing. The color describes its appearance, not a separate welding process. Inside, an electrical generator creates high-frequency energy, and a transducer converts it into mechanical vibration. A horn, also called a sonotrode, carries that vibration to the parts. Under controlled pressure, movement at the joint creates localized heat, softening compatible thermoplastics so they fuse as they cool. No adhesive is needed. The result depends on the materials, joint design, and settings—not the paint on the case. That distinction is easy to miss. The casing is secondary.
For example, when joining two molded plastic panels, the operator aligns their edges in a fixture and lowers the horn onto the seam. The machine applies vibration for a set time or until it reaches a programmed displacement. Small changes in pressure or amplitude can affect strength and appearance. A clean-looking seam is not proof of a reliable weld. Check sample parts, inspect the joint, and confirm repeatability across several cycles. Also examine the controls, guarding, and tooling access before selecting equipment. “Black ultrasonic welder” may simply describe the machine’s color, so ask for its frequency, power, and material range. I would avoid choosing by color alone; it is a surprisingly weak specification.
Matching the Welder to Your Materials and Applications
Treat the black finish as cosmetic. Match the welder to the material, joint design, and production rate instead. For plastic parts, identify the exact resin and check whether both components can form a compatible bond. Polypropylene and polyethylene, for example, often need carefully designed energy directors and tuned settings. A small rib beneath the joint can focus vibration; a flat, wide seam may need different tooling. Test actual parts, not just resin samples.
Application changes the machine choice. The IEA’s Global EV Outlook 2024 reports
nearly 14 million electric cars were sold in 2023, about 18% of global car sales.
That growth raises demand for battery and electrical assemblies, but it does not mean one welder suits every assembly. Thin copper or aluminum tabs require a metal-welding system; plastic housings need a thermoplastic model. Check material thickness, joint access, required cycle time, and whether the horn can reach the seam.
Ask for weld trials using your parts. Record amplitude, pressure, weld time, and energy, then inspect the joint after cooling. A clean-looking seam can still be weak. It happens. Compare pull or peel results across several samples, and allow for variation between material batches. A supplier’s sample proves little if your geometry differs.
Evaluating Power, Frequency, and Welding Capacity
When evaluating a black ultrasonic welder, start with the part and process, not the color or headline wattage. The right power depends on the plastic, joint area, and required cycle time. A broad joint or demanding resin may need more energy, while excessive power can leave flash, dents, or inconsistent seams. Run trials with actual parts. Small details matter.
Tip 1: Match frequency to part size and precision. Lower-frequency systems often suit larger parts, while higher frequencies can work well for smaller, delicate components. This is a guide, not a rule; joint design and material also affect results. Ask for sample welds using your own components.
Tip 2: Check welding capacity beyond the advertised power. Confirm the machine can handle your part dimensions, tooling, and expected production rate. Watch several cycles for consistent results, not just one successful weld. Leave some operating headroom, but avoid buying capacity you will never use. I would also question any specification that lacks test conditions. Verify it.
Checking Controls, Safety Features, and Ease of Use
Tip 1: Check the controls before comparing appearance. Choose a black ultrasonic welder with clearly labeled settings, readable displays, and buttons you can operate with gloves. A simple interface helps reduce setup mistakes. Try changing the amplitude or weld time, then confirm the display responds as expected. Small details matter.
Tip 2: Inspect the safety features closely. Look for an accessible emergency stop, a protective guard, and a setup that keeps hands clear of the horn during operation. Ask how the machine signals a fault or incomplete cycle. A safety feature is only useful if operators can find and understand it quickly. I would not assume a covered panel is easy to reach; check it in person.
Tip 3: Consider everyday ease of use. Review how the unit is loaded, adjusted, and cleaned, and whether routine checks are explained in the manual. Test the controls under your actual work conditions, including the available lighting. Black surfaces can make small labels harder to see. I might overlook that at first, so bring the materials and workflow you plan to use when evaluating the machine.
Comparing Build Quality, Service, and Total Cost
A black ultrasonic welder should feel stable before it ever reaches a production line. Check the frame, control panel, and cable connections for solid construction and clean assembly. The color is mostly cosmetic, but the coating should resist scratches from routine handling. Look closely at the horn mount and fixture area. Small details matter.
Ask how service works after installation. Can technicians troubleshoot remotely, and are common replacement parts readily available? A clear maintenance schedule is useful, especially when operators need to inspect the horn, clean contact surfaces, or verify settings. Response time matters. A machine can be well built and still cause costly delays if support is hard to reach. I may be giving service too much weight, but downtime is easy to underestimate.
Compare total cost, not just the purchase price. Include tooling, operator training, installation, maintenance, and expected energy use. Request a sample weld using your actual materials and joint design; a polished demonstration may not match your parts. Record cycle time and inspect weld consistency across several samples. If results vary, ask what adjustments are needed and who will make them. A lower quote can still be the more expensive choice.